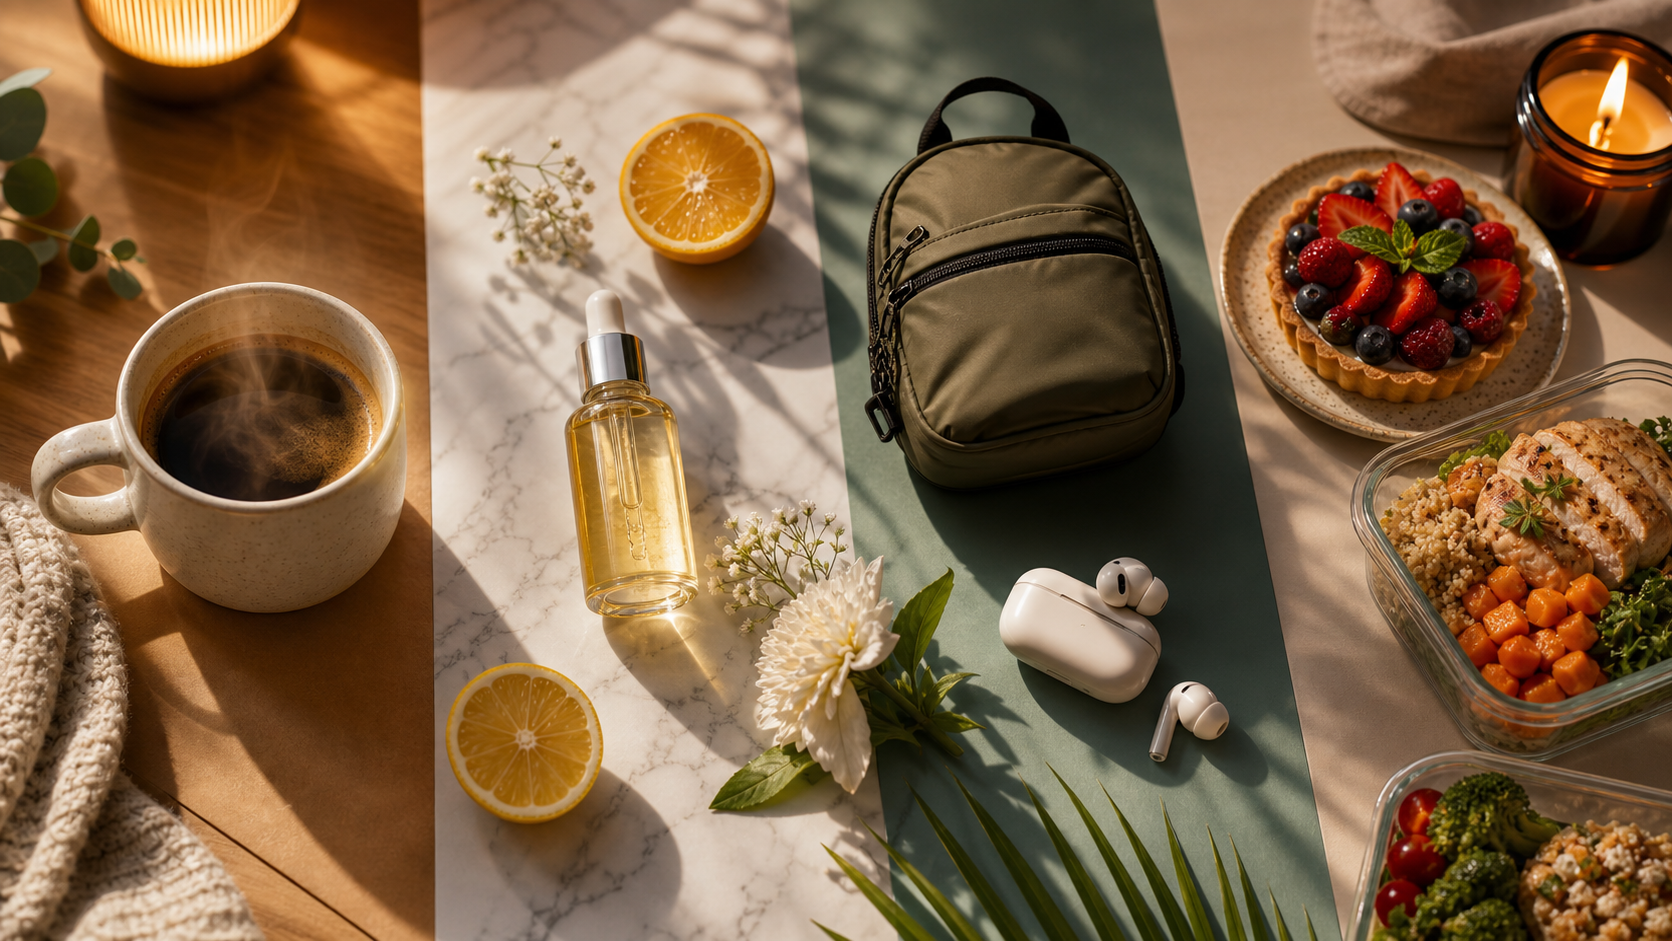
If you sell online, run paid ads, or manage brand content, you already know how hard it is to keep creative assets fresh. A single campaign can need product shots, lifestyle scenes, social images, test variations, and localized versions for different audiences. That is exactly where UGC Maker’s UGC image generator becomes useful.
Instead of planning a full photoshoot every time you need a new angle, you can use this AI UGC image tool to turn product images into ad-ready visuals, lifestyle scenes, and user-generated-style content faster. The interface is simple enough for beginners, but flexible enough for marketers who want to test multiple creative directions.
This guide walks through the tool in a practical way, from choosing the right model to writing prompts that look more native, more believable, and more useful for actual marketing.
What the UGC Image Generator Does
At its core, UGC Maker’s UGC marketing image creator is designed to help you generate visual content that feels closer to modern social commerce than traditional studio photography. Think product photos that can be transformed into lifestyle images, editorial-style banners, or campaign visuals that look more natural on Shopify, Amazon, TikTok, or Instagram.
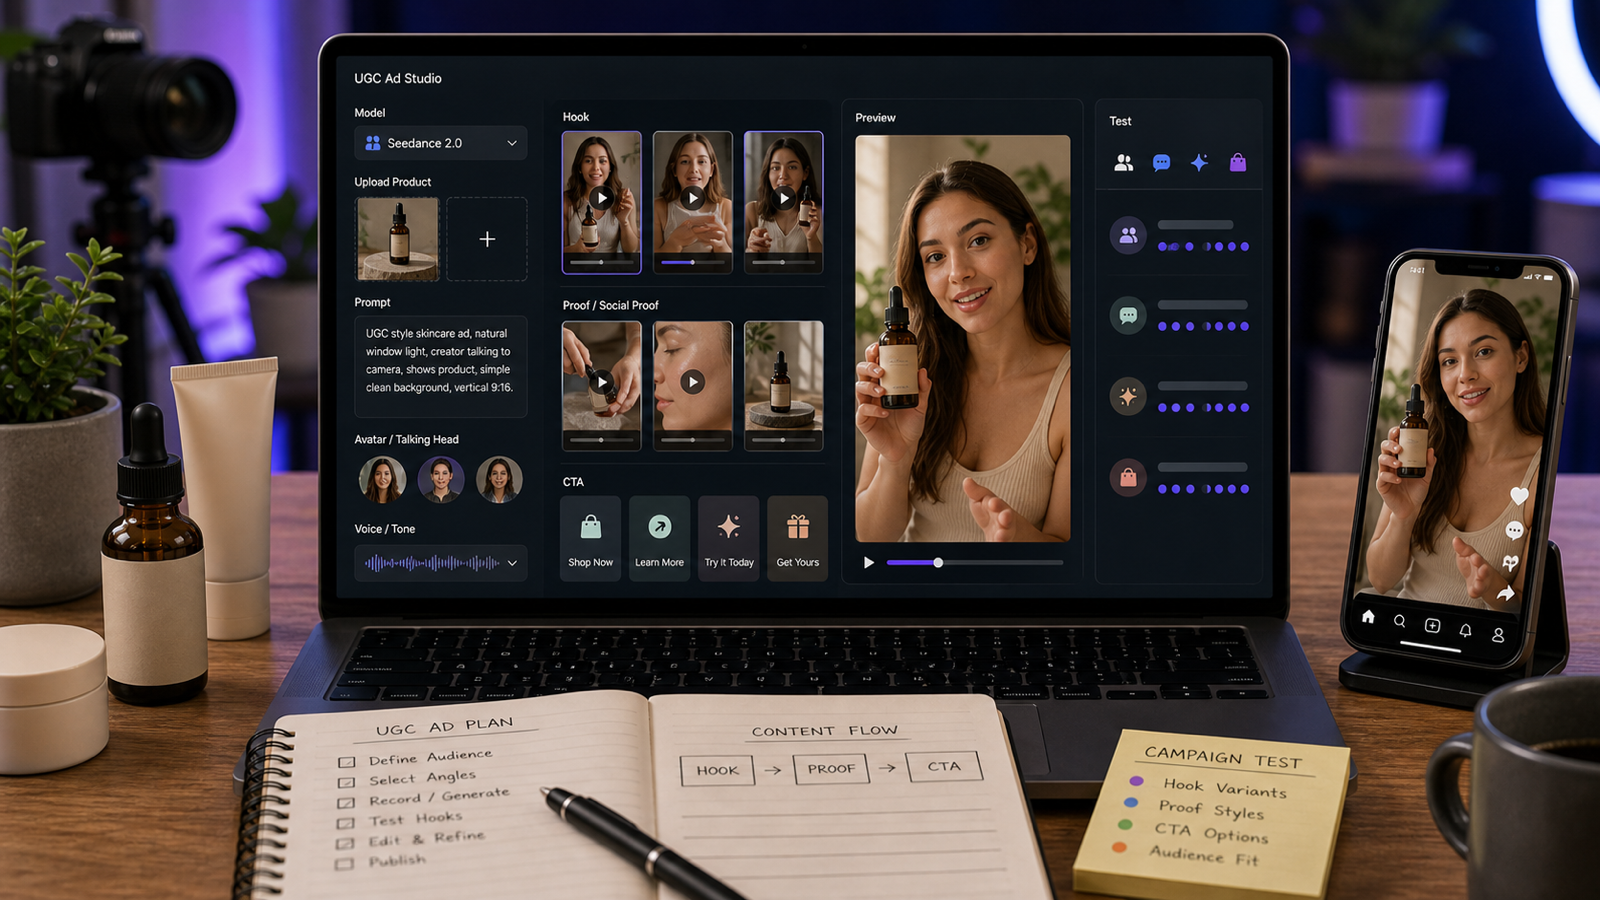
The page interface is straightforward. You can choose a model, upload reference images, write a prompt, set output preferences, and generate results from one place. Based on the current interface, it supports JPG, PNG, and WebP uploads, allows up to 10 images, and gives you a prompt box with enough room for detailed instructions.
That makes the tool a good fit for e-commerce sellers, ad creatives, social media managers, and smaller brands that want more visual variation without adding more production overhead.
A Quick Tour of the Interface
When you open the UGC ad image generator, the layout is easy to follow. At the top, you choose a model. Under that, you upload your image files. Then you write your prompt. Near the bottom, the interface shows output settings such as automatic mode, resolution, and the generation button.
This matters because a lot of beginners overcomplicate AI image workflows. Here, the process is basically:
- choose a model
- upload product or reference photos
- describe the result you want
- generate and refine
If you are new to AI creative tools, that simplicity is part of the appeal.
What to Prepare Before You Generate
The biggest mistake people make with any product-to-UGC image generator is assuming the AI will fix weak inputs. In reality, better outputs usually begin with better source material.
Before you start, prepare a few things:
- a clear product image with good lighting
- extra angles if product consistency matters
- a simple idea of your target audience
- the platform where the image will be used
- the tone you want, such as cozy, premium, playful, minimal, or luxury
For example, a Shopify homepage banner and a TikTok-style ad creative may use the same product, but they should not feel the same. One might need a polished hero image, while the other should feel more casual and native to a social feed.
The more specific your goal is, the easier it becomes to guide the tool.
Which Model Should You Choose?
One of the most useful parts of the current UGC visual content generator is that it gives you multiple model options instead of forcing one default workflow. If you are not sure where to begin, here is a simple practical way to think about each one.
Seedream 5.0
Seedream 5.0 feels like the polished option. If your priority is premium-looking marketing visuals, realistic textures, or cleaner commercial presentation, this is a strong place to start. It makes sense for hero images, branded product scenes, and higher-end campaigns.
Seedream 4.5
Seedream 4.5 is a balanced middle-ground model. It is a sensible choice for everyday campaign work when you want solid quality without always reaching for the most premium-looking output. For many users, this may become the practical default.
Seedream 4.0
Seedream 4.0 works well for lighter experimentation. If you want to test scene ideas, prompt directions, or layout concepts before refining the final result, it is a useful drafting model.
Nano Banana Pro
Nano Banana Pro feels more ambitious and detail-driven. It is a good fit when you want stronger visual impact, more dramatic creative direction, or a result that feels more campaign-forward instead of just functional.
Nano Banana AI
Nano Banana AI looks like the more general everyday option in the same family. It is helpful for routine image generation when you want a simpler workflow and still need attractive outputs.
A smart habit is to run the same concept across two models rather than trusting the first result. Often, the best output is not about the “best” model overall. It is about which model matches your specific scene, product, and tone.
How to Upload Better Reference Images
Your reference upload strategy matters more than many people expect. With this UGC lifestyle image maker, try to upload images that help the model understand the product clearly before it tries to stylize the scene.
A few good practices:
- use sharp product images instead of blurry screenshots
- avoid heavy clutter unless the background is important
- upload multiple angles for bottles, boxes, or packaging
- include branding details if labels must stay recognizable
- use clean, bright images when product fidelity matters most
If you are creating lifestyle visuals, you can also upload supporting references that hint at the environment you want, such as a bathroom setting for skincare, a desk setup for tech accessories, or a modern kitchen for household products.
The goal is not to overwhelm the model. It is to give it enough visual information to understand what should stay consistent.
How to Write Prompts That Actually Help
A lot of people freeze when they reach the prompt box. The good news is that you do not need poetic writing. You need clarity.
For the brand image generation tool, a strong prompt usually includes five parts:
- the subject
- the setting
- the lighting
- the camera feel
- the marketing mood
For example, instead of writing “make this look nice,” try something like:
Create a realistic UGC-style skincare image featuring the uploaded serum bottle on a clean bathroom shelf, soft morning light, natural shadows, minimal beige and white palette, candid social media aesthetic, premium but approachable brand feel.
That gives the model something usable. It tells the system what to show, where to place it, how it should feel, and what kind of visual language you want.
You can also tailor prompts by purpose:
- for product pages: emphasize clarity, composition, and product visibility
- for paid ads: emphasize scroll-stopping mood and lifestyle context
- for social posts: emphasize naturalness and “real user” energy
- for banners: emphasize layout, breathing room, and headline-safe composition
Prompt Templates You Can Reuse
If you want faster results from the UGC campaign image generator, build a few reusable prompt structures.
Here are some easy templates:
1. Product lifestyle image Create a realistic lifestyle marketing image of the uploaded product in a bright modern home setting, soft natural lighting, authentic user-generated content style, clean composition, social-media-friendly feel.
2. Premium ad visual Generate a polished commercial image of the uploaded product with luxury styling, refined lighting, elegant textures, clean background, premium brand campaign aesthetic.
3. Native social content Create a casual UGC-style image that looks like a real customer photo, natural indoor lighting, believable framing, relatable setting, subtle product focus.
4. Localized campaign image Generate a realistic product marketing image for a local audience, culturally relevant background, natural styling, mobile-friendly composition, authentic e-commerce ad look.
Once you find a structure that works, keep the base and only swap the platform, audience, or mood. That saves time and makes testing easier.
How to Iterate Instead of Starting Over
The most effective way to use any UGC content image creator is to treat generation as a loop, not a one-shot event.
A simple workflow looks like this:
First, generate a rough version. Then check whether the product still looks accurate. After that, adjust only one variable at a time. Maybe the lighting is too dramatic. Maybe the scene feels too artificial. Maybe the product got lost in the composition. Change one thing, regenerate, and compare.
This is much better than rewriting the entire prompt every time. Small controlled edits help you learn what the model is responding to.
You should also compare results on different models when needed. A prompt that looks flat on one engine may look sharp and believable on another.
Common Mistakes to Avoid
Even a good AI marketing image generator will struggle if the workflow is too messy. Here are the most common mistakes:
Being too vague If the prompt does not define the scene, mood, or product role, the image may look generic.
Using weak source images Low-quality uploads usually lead to less convincing results.
Overloading the scene Too many objects, textures, or instructions can bury the product.
Ignoring platform context What works for Amazon may not work for TikTok. What works for a landing page may not work for an Instagram post.
Choosing only one model Sometimes the easiest improvement is not a new prompt. It is the same prompt on a better-matched model.
Where This Tool Fits Best
In real-world use, the UGC image generator makes the most sense when speed and variation matter. It is especially useful for:
- testing multiple ad creatives quickly
- creating product lifestyle scenes without a new shoot
- building supporting visuals for Shopify or Amazon listings
- making social-ready campaign images
- exploring localized or audience-specific creative concepts
It may not replace every traditional production workflow, especially for luxury campaigns that need full art direction and perfect brand control. But for day-to-day content production, creative testing, and fast iteration, it can be a very practical tool.
Final Thoughts
What makes UGC Maker’s UGC image generator useful is not just that it can generate images. It is that it can help brands move faster from product shot to usable marketing visual.
If you approach it with a clear objective, decent reference images, and prompts that describe both the product and the intended platform feel, the workflow becomes much more effective. Start simple, compare models, refine gradually, and build your own prompt library as you go.
If you want to go beyond still images, UGC Maker also has other useful tools in the same ecosystem. Try AI UGC Maker if you want avatar-led or talking-style UGC content, use AI Image Generator for broader image creation outside strict UGC ad use cases, and check UGC Ads Generator if you want to turn product assets into short-form ad creatives for mobile campaigns. Together, they make a practical toolkit for brands that want faster content production without relying entirely on traditional shoots.